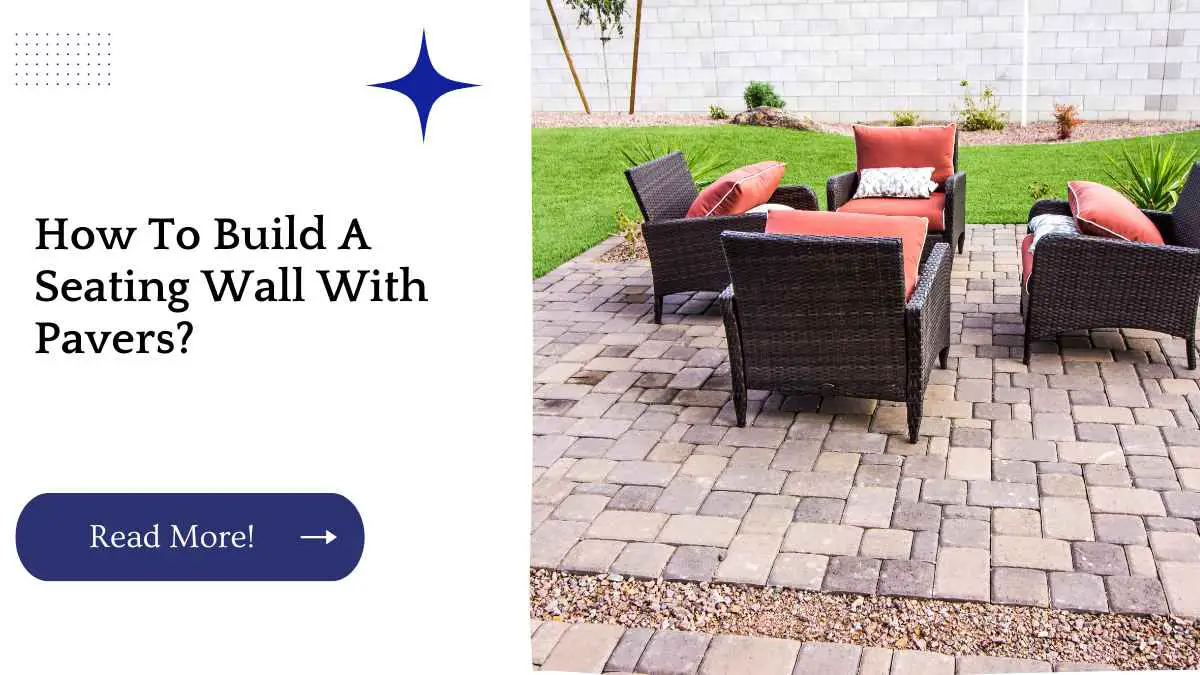
Pavers are some of the best materials to use for building a seating wall. They come in different shapes and sizes, and you can choose the one that suits your requirements perfectly.
Before you start building a paver seating wall in your backyard, ensure that you have a proper foundation laid out on the ground as well as all other things such as drainage system in place.
| Key Takeaways |
|---|
| Building a seating wall can add function and aesthetic appeal to your outdoor living space. |
| The process of building a seating wall involves preparing the area, laying out the wall, and adding finishing touches. |
| The right materials and tools, such as pavers, adhesive, and gravel, are essential for a durable and long-lasting seating wall. |
| A seating wall can be customized to fit your design preferences and can be curved or straight. |
| Adding cushions or pillows to a seating wall can provide extra comfort and make it a cozy gathering spot for family and friends. |
Once everything is ready, it’s time to get down to business!
Level Out The Ground
The first step in building a seating wall with pavers is to level out the ground. This may seem like an obvious step, but it’s important to get this right before you start laying your pavers if you want your finished project to look good and last for years.
To do so, use a spirit level tool (or even just a measuring tape) to check that the ground is level horizontally and vertically. If there are any high spots, use a shovel or rake to remove them and make sure they’re even with the rest of the lawn area before installing your paver patio stones or cobblestones in-place.
“Creating a unique and durable outdoor living space can be easy and affordable with the right materials and tools. Take a look at our step-by-step guide on how to make a deck out of pavers to get started on your next DIY project.” – How to Make a Deck Out of Pavers: Step-by-Step Guide
Set Up A Proper Foundation
The first step to building a seating wall is to ensure that the ground is flat and level. This can be done with an electronic laser level or by using string lines and stakes to help you get the job done.
In fact, if you don’t have access to a laser level, using a string line may actually be easier than trying to set up your own laser setup.
The process of leveling out your foundation involves placing stakes at various points around your area where you want your pavers laid out (which we’ll talk about in more detail later).
You should keep in mind that most people are more used to using footings for their foundations instead of staking them out by hand; however, since this is not an exact science it’s better not to spend hundreds of dollars on something like this if all you need is just a quick fix!
Put Together The Blocks In A Proper Arrangement
When laying out the pavers, use a chalk line or string line to help you set them in a straight line. Make sure that all of the pavers are level with each other, as this will make it easier to build on top later. Use a level to make sure they are all level.
“If you want to give your outdoor living space a new look without starting from scratch, laying pavers over an existing brick surface can be a great option. Learn more about this process with our guide on how to lay pavers over brick.” – How to Lay Pavers Over Brick: A Comprehensive Guide
Choose The Proper Landscaping Blocks
Choosing the proper landscaping pavers is essential to your project’s success. The most important factors to consider are size, color and texture, material, shape and pattern.
Size: Pavers come in a variety of sizes from 4″x4″ to 8″x8″. The smaller you go with your pavers the more detail you can get out of your seating wall but the more work you will have to do since there are less paver blocks per square foot than larger ones.
You also have less room for error when working with smaller sized pavers because they won’t allow as much room for error if you make mistakes during installation.
For example if a 6 inch wide paver is installed crooked it may not look good but if an 8 inch wide paver is installed crooked then that entire section will be ruined making it necessary for replacement or removal of all those stones which isn’t practical considering how expensive these materials are compared to regular concrete blocks so always try avoiding mistakes when possible!
Color and Texture: There are many different colors available when choosing between reds/yellows/blues/greens etc., each color has its own unique appearance depending on how bright or dark it gets when exposed under sunlight which makes them ideal
Most Of The Patios Require To Be 16-18 Inches Wide And 8 Inches Deep
First, you will need to measure the width and depth of your patio. To calculate the number of pavers you will need, take the total area of your patio and divide it by 8 inches (the depth of a paver).
For example: if you have a 15′ x 10′ patio area with a 4″ wide walkway on each side, then there would be 20 total square feet in your layout. In this case, we would divide 20 by 8 to get 2.5— meaning that you can use 2 ½ standard sized pavers per linear foot!
Now that we know how many standard sized pavers our project will require let’s do some math! The first thing we want to figure out is how many linear feet in length our seating wall is going to be based off where it starts and ends at each end point?
This depends on where those two points are located so let’s say for example that one end point starts off from where my front door leads out into my backyard which happens sometimes when I am working on projects like this one during any given day because I don’t always have time during daylight hours when everyone else around me does not seem busy enough so instead they like doing things like playing outside together which means no one else wants me working on stuff inside their house either.
“The right depth of gravel is critical for creating a stable base for your pavers. Our guide on how deep should gravel be for pavers provides you with the information you need to ensure a long-lasting and level surface for your outdoor living space.” – How Deep Should Gravel Be for Pavers? Expert Advice
Make Sure You Choose A Suitable Paver Material
Choosing the right paver material is important. You need to pick a paver that is durable and can withstand the elements, as well as be easy for you to maintain.
You also want your seating wall to look good with your existing landscaping so choose a paver that will compliment whatever plants or trees are already in place, or vice versa if there are plans for new ones in the near future.
Set The Blocks
To set paver blocks, you will need to use a plate compactor to level the pavers. This can be done on either grass or concrete.
You will also want to make sure that you are placing the pavers in a pattern that is consistent throughout your wall. The joints between each block should be filled up with stone dust so that they blend in with the rest of your seating wall.
“If you are considering using rectangle pavers for your next project, it’s important to know the right way to install them for maximum durability and stability. Our guide on how to install rectangle pavers provides you with detailed steps and tips to get it right.” – How to Install Rectangle Pavers: Step-by-Step Guide
Use A Plate Compactor And Level It All Out
Once you’ve laid down your pavers, use a plate compactor to make sure they’re all level. You don’t have to worry about it if you use a plate compactor!
A plate compactor is a machine used for leveling the pavers, and it’s pretty easy to operate: just drive over them until everything’s even.
Use A Stone Dust For Fill Up Your Joints
Stone dust is a material used for filling up the joints between pavers, and it’s a better option than sand. The main reason stone dust is preferred over sand is because it creates more homogenous joints and makes them easier to work with later on.
It can be applied with a power broom or rotary tiller to ensure that it’s properly packed down into place before you move on to laying your pavers.
Use Sand For Filling Up The Joints Between Pavers
After you have pushed down your first row of pavers, fill in the gaps between them with some sand or gravel. This will help prevent water from getting into them and making them slippery when wet.
“Adding new pavers to an existing surface can be a great way to expand your outdoor living space without starting from scratch. Check out our guide on how to add new pavers to existing ones for step-by-step instructions and helpful tips.” – How to Add New Pavers to Existing Ones: A Comprehensive Guide
Conclusion
I hope that you have enjoyed this article. Remember that building a seating wall with pavers is not as difficult as it sounds. All you need to do is follow these steps and make sure you have the right tools for the job.
The most important thing is patience and taking your time while working on it so everything comes out perfect!
Further Reading
Build Your Own Fire Pit in 4 Easy Steps: A guide on building a fire pit, which can be a great complement to a seating wall.
How to Build a Sitting Wall: A comprehensive guide on how to build a sitting wall, including choosing the right materials, laying out the wall, and finishing touches.
How to Build a Seating Wall: A guide on building a seating wall with detailed steps and helpful tips, including information on materials and tools needed.
FAQs
What materials are needed to build a seating wall?
To build a seating wall, you will need pavers, construction adhesive, compactable gravel, a shovel, a level, and a mallet.
How do I prepare the ground for a seating wall?
To prepare the ground for a seating wall, you need to excavate the area, add a layer of compactable gravel, and level it out. You may also want to add a layer of landscape fabric to prevent weeds from growing.
How high should a seating wall be?
The height of a seating wall depends on your needs and the design of your outdoor space. A typical seating wall is around 18 to 20 inches high.
Can a seating wall be curved?
Yes, a seating wall can be curved. This requires using curved pavers or cutting the pavers to fit the desired curve.
How do I finish a seating wall?
To finish a seating wall, you can add coping stones to the top for a finished look. You may also want to add cushions or pillows for added comfort.

I am Hellen James, a landscape architect. For many years I have written about landscaping for various publications; however, recently decided to focus my writing on personal experience as a profession.

